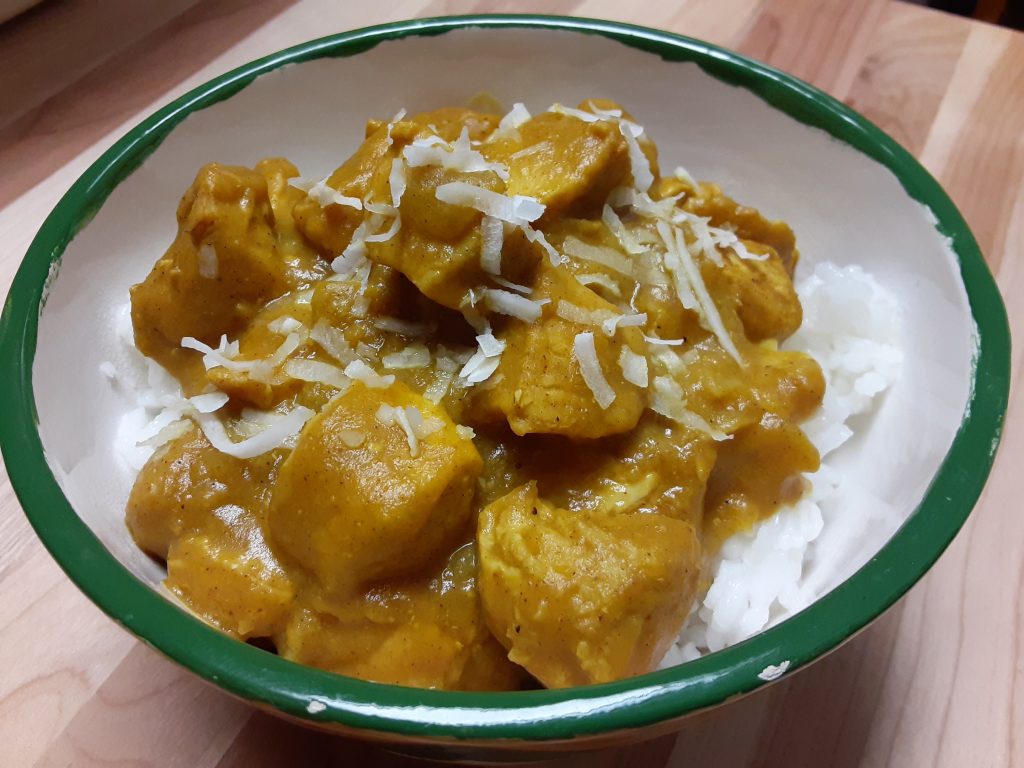
Pumpkin Chicken Curry Recipe
Looking for an easy to prepare and tasty chicken curry recipe? Here’s one from Costco Connection magazine that we tried yesterday. How did it turn out? It was nice, but compared to my Mom’s chicken curry recipe that uses chicken thigh meat and drumsticks, it was not quite as rich and flavorful. And remember that you can make adjustments to this recipe based on what ingredients you have in the kitchen and your own personal tastes. Enjoy!
Ingredients
2 Tbsp canola oil, divided (we used grape seed oil)
1 lb boneless, skinless chicken breast, cut into cubes
3/4 cup chopped yellow onion
1 Tbsp grated fresh ginger
1 garlic clove, minced (we used 2 cloves)
2 Tbsp yellow curry powder
1/2 tsp ground cinnamon
1 tsp ground coriander
1/4 tsp salt
1 cup canned pumpkin puree (we used homemade pumpkin puree)
1/2 cup coconut milk
Directions
Heat 1 tbsp oil in a skillet over medium/high heat. Add chicken. Cook for approximately 6 to 8 minutes, stirring frequently. Remove chicken from skillet.
Lower heat to medium. Add 1 tbsp oil, then add onion, ginger and garlic. Cook until onion is translucent, about 2 to 3 minutes.
Stir in the curry powder, spices and salt. Cook mixture 1 minute.
Add chicken back to skillet. Stir in pumpkin and coconut milk. Once sauce is simmering, reduce heat to low and let cook additional 8 to 10 minutes.
Serve with rice or another grain. Makes 6 servings.
Optional: Garnish with shredded coconut, peanuts, raisins, diced apple and sliced banana.
My Recommendation: For more flavor, use chicken thigh meat and cook in cow ghee (clarified butter).
Also, remember that curry powders are not all the same. I like to kick it up a notch and add more chili powder.