It’s Blackberry Picking Time + Old-Fashioned Blackberry & Mulberry Cake Recipe

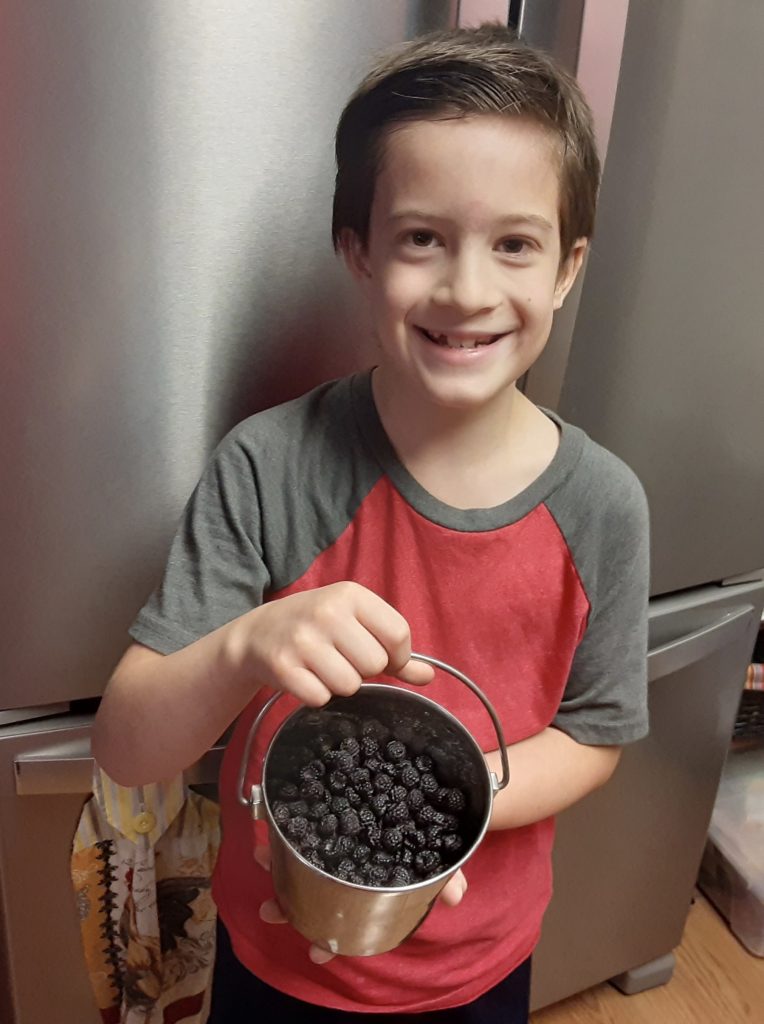
The other day, my 8 year old son, Roy,  excitedly grabbed his pail and ran outside to collect blackberries. We have blackberry bushes surrounding our vegetable garden and at the edge of our woods. A few minutes later he came back inside and showed me his full pail. “Try one.” he said. I did, and they were delicious. Blackberries are great on their own, on top of hot or cold cereal and in crumbles, tarts and cakes. Soooooo Heather whipped up a dessert in no time at all. She did add fresh mulberries from some of our mulberry trees.  It turned out great!

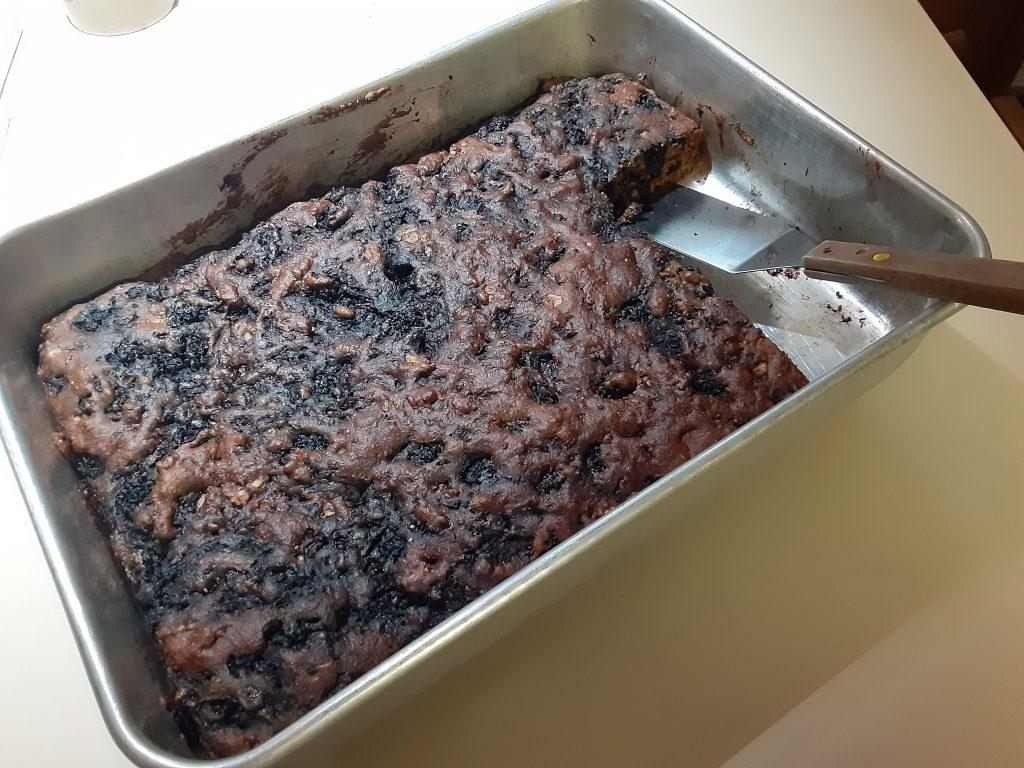
Enjoy this Old-Fashioned Blackberry & Mulberry Cake. (Recipe adapted and modified from Favorite Recipes of the Michigan 4-H Family)

Ingredients

2 cups whole wheat flour

2 teaspoons baking soda

1/2 teaspoon salt

1 teaspoon cinnamon

dash of allspice

3 tablespoons plain yogurt

3 tablespoons butter, cut it in

1/4 cup honey

2 eggs, beaten

1 cup coarsely chopped walnuts

1 teaspoon vanilla extract

4 ounces applesauce

1/3 cup brown sugar

3 cups blackberries

1 cup mulberries


Directions

Sift flour, baking soda, salt, cinnamon and allspice in a bowl. Cut in butter. Add honey, eggs, walnuts, vanilla, yogurt, brown sugar and applesauce. Mix well. Stir in blackberries and mulberries.

Spread batter in greased 9×13-inch cake pan. Bake at 350 degrees F for 35 to 45 minutes or until cake tests done.
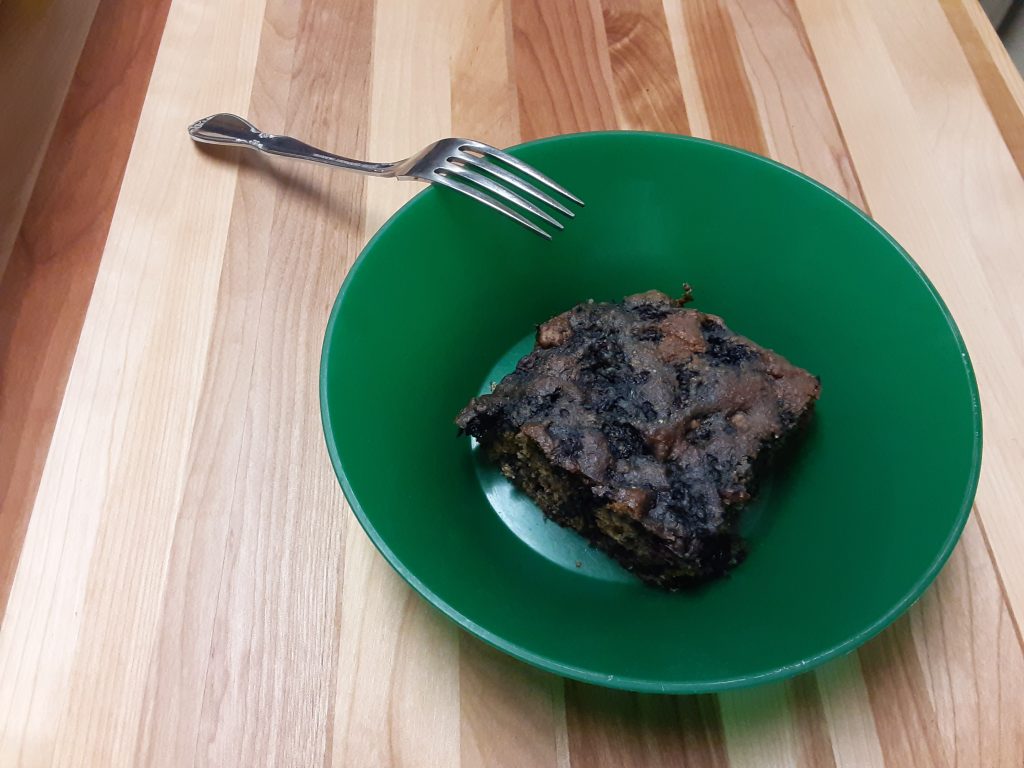
Serve and enjoy.


It’s Blackberry Picking Time + Old-Fashioned Blackberry & Mulberry Cake Recipe2021-07-05T13:10:33-05:00

Go Take a Hike: Our Trail Adventure at Devil’s Lake

Two weeks ago, Heather and I hiked a portion of the East Bluff Trail at Devil’s Lake. We’ve been to Devil’s Lake a few times but haven’t hiked this section since my parents visited in 2004. Wow! How time flies!  Since it was going to be a warm and sunny day, we made sure to get an early start and arrive in the morning. . . and to beat the crowds. By the time we left, the beach, trails and parking lot were all full.

There is something energizing and peaceful about going on a hike. Nature, fresh air, scenic views. My mind relaxes. My eyes relax. My muscles relax. We didn’t have a set time to return to the car or specific mileage we wanted to accomplish or particular overlooks that we had to see. Just enjoying. Being in the moment. Step after step. Breathing. What’s around the next bend?  We took a break every now and then to see where we were and where we came from. Great views. As an added bonus to he hike, we ran into my sister-in-law and her family along the way. Unexpected and very cool.

In my industry, Personal Trainers have more than just a tendency to track workouts, monitor progress and evaluate goals. What you don’t hear often enough, if at all, is encouragement to just go for a walk or a hike or leisurely stroll. It’s always about getting your heart rate up, burning fat, counting steps, etc. Maybe that’s true at the beginning when you are just starting your exercise routine. But, in my opinion, the goal is to become intuitive and body aware. Train by feel. Outdoor activities like this hike remind me that lifting weights, stretching and doing cardio at a gym or fitness studio is great. But it’s just one component of the bigger picture of health and fitness.  Like pieces of a puzzle. For the complete picture, you need a sufficient amount of quality sleep, proper nutrition and a balanced diet, positive and supportive people and stress management skills.  And most of all, you need to learn to HAVE FUN. So where are you going for our next hike?

Up, up, up I go. It was a lot easier than going down.

Heather takes a little rest in the shade.

Getting to enjoy scenic views like this one was a big reward.

Go Take a Hike: Our Trail Adventure at Devil’s Lake2021-06-24T20:58:51-05:00

How to Know if You Need New Shoes or New Socks

My feet are important to me, and they are involved in every activity that I do: training clients, lifting weights, going for walks, hiking, playing basketball and doing yard work.  Sometimes it can be difficult to know why my feet or legs or back are sore after a particular activity. Is it the shoe? Is it overuse? Or both?  Some people say that it’s age catching up to me.  That’s not very nice :-)

A close friend and I have talked about shoes, shoe inserts, socks, and general footwear for many years. We’ve had long discussions on the subject. Given that my friend, Dave, who works as a postal carrier, walks 10+ miles a day and is an avid runner, I feel that he is an expert on the matter.  What conclusions did we come up with? What are some solutions? First of all, we need to understand that shoes get compressed over time just by standing in them. I’ve had 6-month old shoes that outwardly look new with no visible signs of wear, but they feel like bedroom slippers when I put them on. And that’s not a good thing if you need a supportive shoe for certain exercises. Another thing Dave and I agreed on is that I am a sensitive person. Like Hans Christian Andersen’s “The Princess and the Pea”, I fortunately or unfortunately notice small changes in the performance of my socks and shoes. These changes can result in foot and calf soreness. If I continue wearing those same shoes and socks, sometimes the discomfort will move up to my hip, back or even neck.

I’ve been told by long distance runners and have even read on shoe manufacturer’s websites that running shoes have a preset mileage built into them. Usually 400 to 500 miles. Is that just marketing so you buy next years’ model? Hmm. Whether it’s 400, 500 or 1000 miles, eventually the synthetic leather, plastic, knit polyester, foam and rubber will degrade with each footfall. Be watchful. Depending on how you walk or run, your shoes may wear unevenly. And that “unevenness” and imbalance may further contribute to foot, ankle, knee, hip or back soreness or injury.  

Eric, are you saying that I need to buy a new pair of shoes every 4 or 6 months? That depends on what activities you’re doing, your budget and how your body is feeling. I have a client who has worn the same athletic shoes for 13+ years and feels that they are supportive. He says that he only wears them to train with me, but I’m sure they are waaaaaay overdo. 

The same is true with socks. Socks can help wick away moisture (which reduces rubbing and blisters), add support to your foot and ankle, provide cushion under your heel and the ball of your foot and help regulate temperature. All this with a sock? Yes. As a matter of fact, I have almost entirely replaced all of my socks with Darn Tough Hiker 1/4 socks. I’m wearing them right now, and I can’t say enough about them. 

What are some ideas to add longevity to your shoes and socks?

  1. Alternate shoes. We often put new socks on every day, but we put on the same shoe. That shoe may still retain moisture from the previous day and is still recovering. So wear another pair.
  2. Wear the right shoe for the job. DO NOT and I repeat DO NOT wear old athletic shoes for yard work or going for walks or taking the dog out or anything. Remember different activities require different footwear. I remember training a client who was complaining about ankle pain after participating in some outdoor bootcamp classes (with another fitness trainer) at a nearby park. Looking at her running shoes, I asked if she was wearing those same shoes at the park in the morning on the dewy grass. She said Yes. The soles of her shoes were worn down so she would have no grip on the grass. I added that doing any side-to-side movements in running shoes wasn’t a good idea either since running shoes provide no lateral support.    
  3. Don’t let your feet get cold. Have you noticed how your car performs differently in the winter? It takes longer to warm up and the tires may feel harder on the road. That’s because of the cold. If your feet get cold and you go for a run, for example, your footfalls, propulsion, ankle extension, etc will be abbreviated. That may lead to poor technique, reduced performance and/or injury.
  4. Stretch your legs and feet. We are usually pretty good about stretching quads, hamstrings and calves, but don’t forget to stretch your ankles and feet. 
  5. Take a break and get off of your feet. If possible, give your feet a rest. I have joked over the years that since I stand and exercise for a living that I can sit for a loooong time. . . and watch TV. . . and nosh. When you are in a standing position, blood flows down to your feet. If blood pools in your feet, they may swell making your shoes and socks feel tighter and uncomfortable. Muscle contraction in your feet and legs send the blood back up.  Blood pooling can even happen when we are sitting.  So sometimes it’s a good idea to kick off your shoes and put your legs up when you get home. 


How to Know if You Need New Shoes or New Socks2021-05-20T12:34:28-05:00

Indian Butter Chicken with Chickpea Tikka Masala

Let me begin by saying that I love Indian food. I love the flavors, the aromas and the spices. As a matter of fact, we make some kind of Indian dish every week.  Here is one that Heather made the other day. It’s an Indian Butter Chicken recipe with a side of Chickpea Tikka Masala. Just writing about it makes me hungry. I think there’s some leftovers in the fridge. Enjoy!

The Indian Butter Chicken recipe was adapted from an article in the magazine Slow Cooker Favorites Volume 7.

The Chickpea Tikka Masala recipe was  born of Heather’s culinary experience.


Ingredients for Indian Butter Chicken

3 Tbsp butter

2 lbs chicken thighs and drumsticks

1 Tbsp grated fresh ginger

 1 Tbsp garam masala

3 cloves garlic, minced

1 tsp ground cumin

1/2 tsp salt

1/2 tsp ground turmeric

1/4 tsp cayenne pepper

1 14.5 ounce can diced tomatoes, undrained

1 cup chopped onion


Directions

In a large skillet heat 3 Tbsp butter over medium heat. Add chicken; cook 5 minutes or until lightly browned, turning once. Transfer chicken to a slow cooker. 

Add ginger, garam masala, garlic, cumin, salt, turmeric and cayenne pepper. Toss to coat. Stir in tomatoes and onion. Cover and cook on low 6 hours or high 3 hours.

Serve over rice and with a side of warm naan.


Ingredients for Chickpea Tikka Masala

1 15 ounce can organic garbanzo beans (aka: chickpeas)

8 ounces mushrooms, sliced

1/2 yellow onion, chopped

8 ounces cauliflower, chopped

2 Tbsp cow ghee (clarified butter)

1/2 15 ounce jar of Tikka Masala Simmer Sauce (from Aldi)


Directions

In a skillet, heat clarified butter over medium high heat. Add mushrooms and onion and sauté for 3 minutes, stirring frequently. Then add cauliflower. FYI we used cauliflower that we had previously chopped and frozen. Cook for another 3 minutes.

Add chickpeas and mix ingredients thoroughly. Then add simmer sauce and stir to coat. Set heat to simmer and cook for 15 minutes or until dinner is ready.  Enjoy!


Indian Butter Chicken with Chickpea Tikka Masala2021-05-04T13:52:41-05:00

Pumpkin Chicken Curry Recipe

Looking for an easy to prepare and tasty chicken curry recipe? Here’s one from Costco Connection magazine that we tried yesterday. How did it turn out?  It was nice, but compared to my Mom’s chicken curry recipe that uses chicken thigh meat and drumsticks, it was not quite as rich and flavorful. And remember that you can make adjustments to this recipe based on what ingredients you have in the kitchen and your own personal tastes. Enjoy!


Ingredients

2 Tbsp canola oil, divided (we used grape seed oil)

1 lb boneless, skinless chicken breast, cut into cubes

3/4 cup chopped yellow onion

1 Tbsp grated fresh ginger

1 garlic clove, minced (we used 2 cloves)

2 Tbsp yellow curry powder

1/2 tsp ground cinnamon

1 tsp ground coriander

1/4 tsp salt

1 cup canned pumpkin puree (we used homemade pumpkin puree)

1/2 cup coconut milk


Directions

Heat 1 tbsp oil in a skillet over medium/high heat. Add chicken. Cook for approximately 6 to 8 minutes, stirring frequently. Remove chicken from skillet.

Lower heat to medium. Add 1 tbsp oil, then add onion, ginger and garlic. Cook until onion is translucent, about 2 to 3 minutes.  

Stir in the curry powder, spices and salt. Cook mixture 1 minute. 

Add chicken back to skillet. Stir in pumpkin and coconut milk. Once sauce is simmering, reduce heat to low and let cook additional 8 to 10 minutes.

Serve with rice or another grain. Makes 6 servings. 


Optional: Garnish with shredded coconut, peanuts, raisins, diced apple and sliced banana.

My Recommendation: For more flavor, use chicken thigh meat and cook in cow ghee (clarified butter). 

Also, remember that curry powders are not all the same.  I like to kick it up a notch and add more chili powder.

Pumpkin Chicken Curry Recipe2021-03-24T10:54:02-05:00

We Made Homemade Sushi

For the first time ever, we made sushi the other night. We used smoked salmon and cooked shrimp, and it turned out delicious. The rolls didn’t look as perfect as the ones at Restaurant Muramoto, but I was pleased nonetheless. For guidance, we followed the directions on the back of the Organic Pacific Sushi Nori (edible seaweed) package. It was a fun family activity and definitely a learning experience. Give it a try and let me know how it turns out.

Ingredients

10 sheets Emerald Cove Organic Sushi Nori

2 cups sushi rice (we used white long grain rice and it didn’t work very well)

2 1/4 cups water

1/4 cup brown rice vinegar (we used regular rice vinegar)

1/2 tbsp sugar

1/2 tbsp salt (we used 1/2 tsp)

a bamboo mat or thick cloth napkin (We used a cloth napkin, and I feel that the rigidity of a bamboo mat would be preferable. I will pick one up the next time we make sushi.)


Rice Preparation

Rinse and drain rice in water three times or until rinse water is clear. Allow the rice to rest for about 30 minutes. Add 2 1/4 cups water and a pinch of salt to a pot, then bring to boil. Cover, lower heat, and simmer for about 10 minutes, or until rice has absorbed almost all the water. Turn off heat and let sit for 10 minutes before removing cover. Mix sugar, salt and vinegar and pour over rice. Stir rice thoroughly but gently with wooden fork or bamboo rice paddle. Rice is ready to use when it has cooled to room temperature. (Do not refrigerate, as this will harden rice, making it impossible to roll.)

* Since I used regular long grain white rice, I used 2 cups of rice and 3 cups of water. Simmering time was double almost triple the time. 


Fillings

Any combination of long, thin slices of avocado, cucumber, carrot, daikon, cooked burdock root, tofu, raw sashimi-style fish, cooked shrimp, egg, chicken . . .whatever you wish. Garnish with umeboshi paste, pickled ginger, wasabi, toasted sesame seeds or your own favorite.

* We used avocado, cooked shrimp, smoked salmon, cucumber, carrot and wasabi. I really wish we had some pickled ginger.


Rolling the Sushi

Place nori sheet on bamboo mat or napkin. Wet hands in cold, salted water to prevent rice from sticking to them. Spread rice evenly over the nori about 3/8 inch thick, covering all but a two inch strip along the farthest edge from you. (Be careful that you don’t spread rice too close along side edges.)

Lay first choice of fillings in a row at the near edge and add garnish.

Moisten the far edge of the nori with fingers dipped in water, and roll the mat firmly. Remove the mat as you go, and press the moistened end edge against the roll to seal. 

Place the roll seam side down, moisten knife to prevent sticking, and carefully slice roll into 6 to 8 pieces. (Make sure you are using a sharp knife.) To serve, pour shoyu or tamari in a shallow bowl to dip sushi slices in. 


We Made Homemade Sushi2021-02-26T13:59:57-06:00

Colombian Ajiaco (Chicken and Potato Soup)

With 4-5 inches of snow expected today, it is definitely soup weather. Yesterday I perused the December issue of the Willy Street Co-op Reader and looked at the recipe section. The Chicken and Potato Soup recipe looked great. We had most of the ingredients, so I didn’t need to go to the grocery store. As always, we made some adjustments for taste and what was available. It turned out absolutely delicious. Enjoy!


Ingredients

1.5 pounds boneless skinless thigh meat, chopped (recipe called for breast meat, but I prefer the flavor of dark meat)

1 yellow onion, chopped

5 cloves garlic, minced

1 tsp salt (recipe called for 1 tbsp)

2 tbsp olive oil

1 tbsp ground black pepper

4 cups chicken stock

1.5 pounds potatoes, peeled and chopped

1.5 cups corn kernels

1 green onion, chopped (recipe called for a bunch, but we didn’t have that much)

1 bunch cilantro, chopped

2 tbsp dried oregano

2 avocadoes, cut into cubes

1/2 cup plain Greek yogurt (recipe called for sour cream)


Directions

Place chicken in a casserole dish and top with the onion, garlic, salt and pepper. Mix to coat. Cover and refrigerate for 4 hours. (Recipe suggests 8 to 24 hours.)  

In a large pot, heat the olive oil over medium-high heat. Add the chicken with the garlic and onion and brown for about 8 minutes, stirring frequently. Add the chicken stock and raise heat to high. Bring to boil, then lower to medium-low heat and cover. Simmer for 30 minutes, until chicken is tender.   

[At this point we made a significant change. The recipe calls for removing the chicken and then cooking the potatoes in the pot of cooking liquid. This is followed by adding some of the herbs and vegetables, then removing/discarding some of the vegetation and then returning the chicken to the pot. I find this entirely unnecessary and wasteful.]

While the chicken was simmering, we peeled and chopped the potatoes. To save time, we microwaved the potatoes for a few minutes. Just enough so that a fork or knife could penetrate. 

We stir in the potatoes, corn, green onion and oregano. Cook for about 20 minutes.

Serve the soup with avocado and yogurt. (The recipe suggests garnishing with 2 tbsp capers. We left that out.) 

Colombian Ajiaco (Chicken and Potato Soup)2021-01-14T09:48:49-06:00

Stay Warm and Keep Active

BOB (Body Opponent Bag) and I are all ready for December Wisconsin weather with our new winter hats. What do you think?

Remember to make sure to get outside, enjoy the fresh air and embrace the changing seasons. If it’s rainy, put on a rain coat or carry an umbrella. If it’s cold, put on mittens or a winter hat. If it’s icy and slippery, bring trekking poles or wear microspikes. If it’s warm and sunny, then I’m jealous.  Basically, there are no excuses to getting outside in the winter. So what are your favorite outdoor winter activities? Other than shoveling snow off my driveway (har har har) mine is tromping around our woods looking at animal snow prints.

Stay Warm and Keep Active2020-12-02T13:05:45-06:00

Chicken Marsala Recipe

As the smell of Marsala wine, chicken, butter and mushrooms waft through the house, my boys run into the kitchen and ask rhetorically if I’m making Chicken Marsala. I answer, Yes. Then my son, Bruce, asks if we’re having it with flat egg noodles. Those are his favorite. Of course, I say. He smiles, looks into the skillet, inhales deeply, and leaves the room with a big smile on his face. Chicken Marsala looks like a fancy recipe, but it is super easy. Prep time is around 15 minutes and cook time is 30 to 45 minutes. I adapted this recipe from chef Emeril Lagasse on FoodNetwork.com. 


Ingredients


Directions

  1. In a shallow bowl or plate combine the flour and Essence and stir to combine thoroughly. Dredge the chicken thighs in the seasoned flour mixture, shaking to remove any excess flour.
  2. Heat the oil in a large skillet over medium-high heat until hot. Add 1 tablespoon of the butter and cook the chicken thighs until golden brown on both sides, about 5 minutes per side.
  3. Add the mushrooms on top of the chicken and remaining 1 tablespoon of butter. Cook, stirring frequently, until mushrooms are golden brown around the edges and have given off their liquid.
  4. Add the chicken stock and Marsala wine to skillet and bring to a boil, scraping to remove any browned bits from the bottom of the pan. When the sauce has thickened slightly, lower the heat and simmer for about 15 minutes.  Add salt and pepper, to taste. Garnish with chopped parsley and serve immediately.

* The original recipe called for twice as much butter. I think it’s rich enough since the dish is prepared in olive oil and there is some fat from the thigh meat.

* The original recipe called for removing the chicken from the skillet and then adding them back in. I am too lazy and also like to make sure the chicken is cooked all the way through. Don’t worry, the chicken will not get rubbery if it cooks longer since it is immersed in a wine/chicken stock mixture. 


Essence (Emeril’s Creole Seasoning)

Chicken Marsala Recipe2020-11-03T10:04:20-06:00
Go to Top